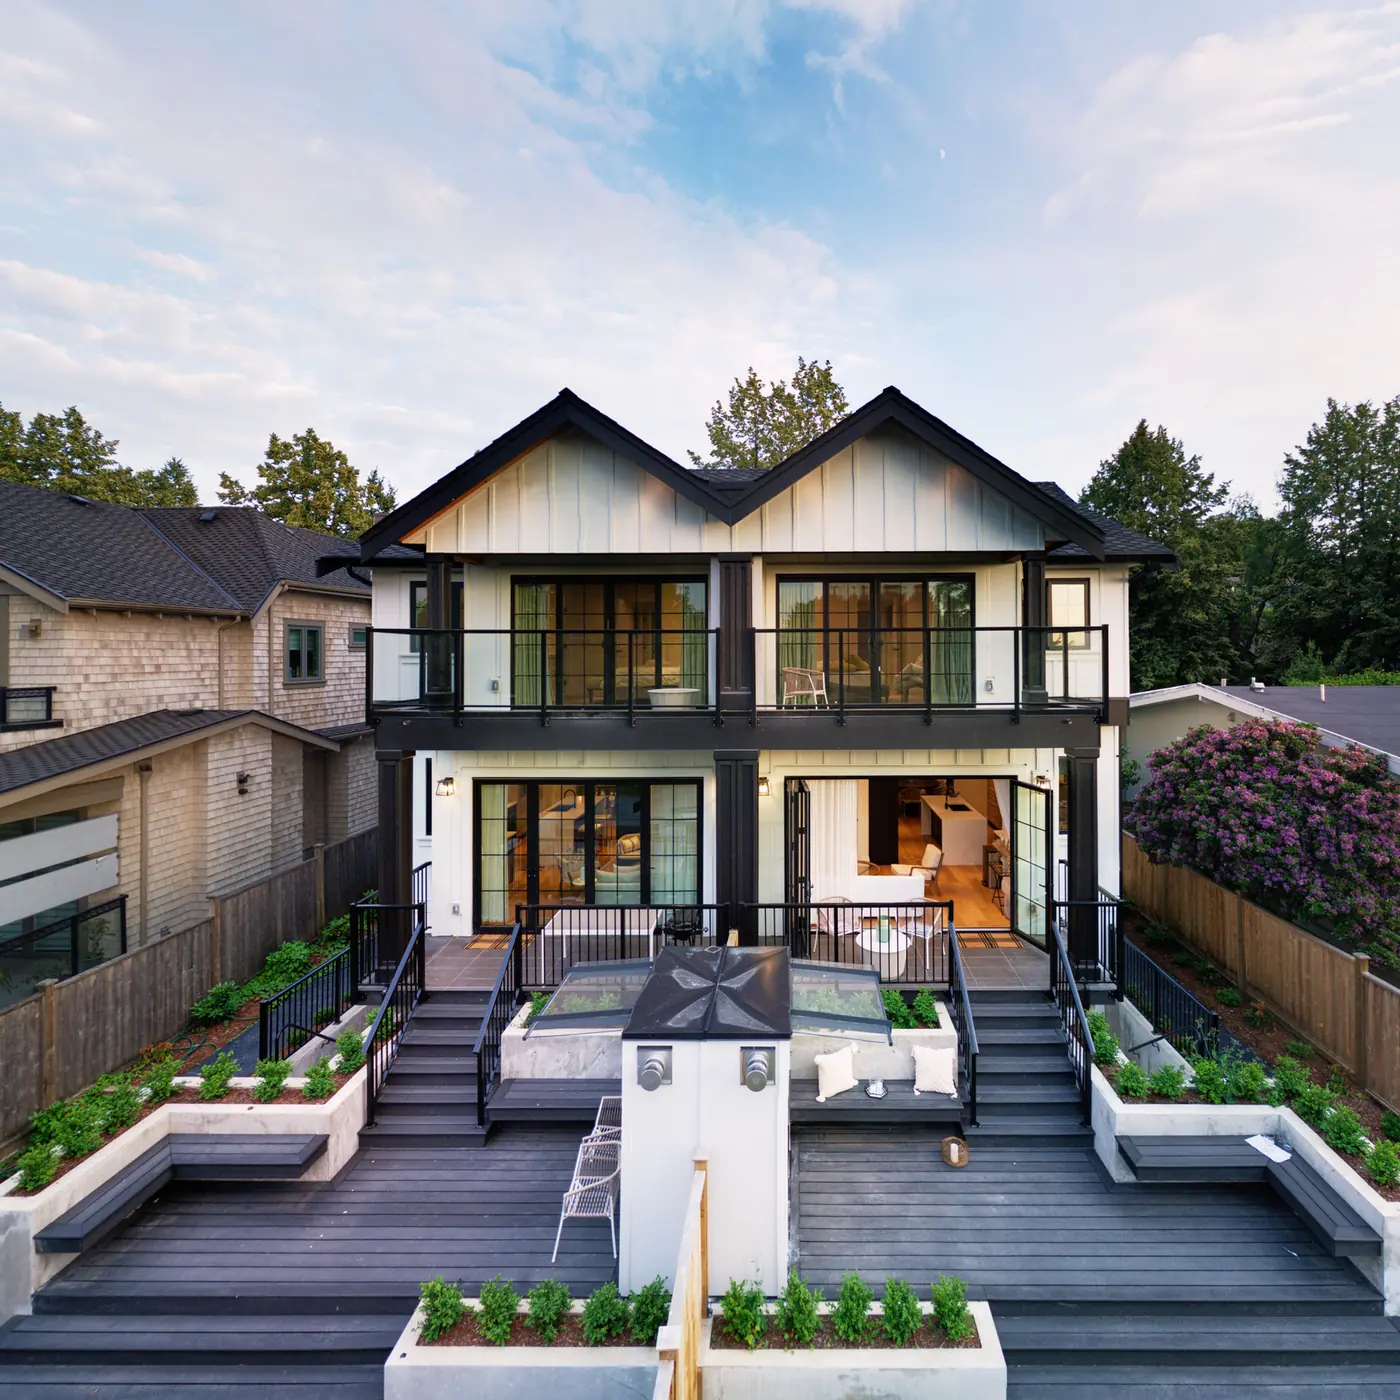
The exterior of a Vancouver home has one main job every day: shed rain. Vancouver's lower mainland receives between 1,100 and 1,400 millimetres of rain per year, most of it falling between October and April. A wall that cannot manage that rain will develop moisture problems inside the structure over time.
This post explains why Vancouver's climate requires a rain screen assembly, what the BC Building Code requires for cladding and drainage, and how the most common cladding choices compare: fibre cement, engineered wood, real wood, and stucco.
Every code reference is from the BC Building Code 2024. City of Vancouver character retention rules come from the City's archived pages. Confirm current requirements with the City or your designer before submitting a permit.
A rain screen is a wall assembly where the outer cladding is separated from the weather-resistant barrier behind it by a gap. The gap is typically created by vertical strapping, also called furring strips, nailed over the weather-resistant barrier. The cladding attaches to the strapping, sitting out from the wall by the thickness of the strapping.
Two things happen in that gap. First, any water that gets behind the cladding through laps, joints or nail holes drains down and out at the bottom of the wall. Second, air can circulate through the gap from bottom to top, drying any moisture that enters.
Without the gap, water that gets past the cladding has nowhere to go. It sits against the building wrap, finds its way through any imperfection, and enters the wall cavity. In a wet climate, this leads to rot in the framing, mould behind the wall, and deterioration of the insulation.
The BC Building Code recognises this. Section 9.27, which covers cladding on housing, requires a drained and vented cavity for most cladding types installed on walls in high-rainfall exposure zones. Metro Vancouver, including the City of Vancouver, is classified as a high-rainfall area. The minimum cavity depth required is 10 millimetres.
The typical sequence on a new wood-frame home in Vancouver:
- The wall is sheathed with structural panels (OSB or plywood).
- A self-adhering membrane or a housewrap is applied over the sheathing as the weather-resistant barrier.
- Vertical strapping (usually 19mm or 25mm thick) is nailed through the membrane into the studs, creating the drainage cavity.
- The cladding is attached to the strapping.
- At the bottom of the wall, the cavity is open to allow drainage. A bug screen keeps insects out while allowing air movement.
- At the top of the wall, the cavity is open or vented to allow air to exit.
The flashing details at windows, doors, roof intersections and penetrations are the most critical part. Water that gets into the wall at a poorly flashed window will drain down inside the wall rather than out through the cavity.
Fibre cement siding is made from Portland cement, sand and cellulose fibres. The best-known brand in Canada is HardiePlank, made by James Hardie. Similar products are available from other manufacturers.
Fibre cement does not rot, does not attract insects, and does not expand and contract with moisture the way wood does. Its dimensional stability means the painted surface holds up well over time, because the substrate is not moving under the paint.
It must be installed over a rain screen in Vancouver's climate zone. James Hardie's installation guide for Canada requires a drainage plane behind the siding, and the BC Building Code requires the same.
Fibre cement siding is available pre-primed (site-painted) or pre-painted with a factory finish. Pre-painted products from James Hardie carry a 15-year finish warranty on the factory-applied colour. The siding itself carries a 30-year product warranty against manufacturing defects.
The factory-painted finish typically needs repainting on the exposed faces in 10 to 15 years, depending on sun exposure and paint quality. The end cuts must be sealed with the manufacturer's recommended end-cut sealant at installation and re-coated periodically.
Engineered wood siding, such as LP SmartSide, is made from wood strands bonded with resin and coated with a factory primer and a zinc-borate treatment that resists rot and insects. It has a wood-grain texture and accepts paint well.
LP SmartSide and similar products carry factory warranties and have a good track record in wet Pacific Northwest climates. Like fibre cement, it must be installed over a rain screen in Vancouver. Engineered wood costs less than fibre cement per installed square foot and weighs less, which can reduce labour costs.
Engineered wood needs painting over the factory primer before or shortly after installation. After that, the repaint cycle is typically every 5 to 10 years. The end cuts must be sealed.
Real wood siding, typically cedar in BC, was the standard on Vancouver homes for most of the twentieth century. Many of the character houses the City protects still have their original cedar siding.
Cedar is naturally resistant to rot and insects because of its oils. It holds paint well when properly prepared and primed. On a correctly detailed rain screen assembly with well-maintained paint, cedar siding can last the life of the building.
The maintenance requirement is higher than fibre cement. Paint on wood siding typically needs attention every 5 to 10 years, and in Vancouver's wet winters, any areas where paint has failed allow water into the wood quickly.
Real wood costs more than engineered wood and fibre cement per installed square foot, partly because of material cost and partly because of the labour required for a quality installation and paint job.
The City of Vancouver's character retention policies apply to houses identified as character buildings in their zone. For exterior alterations on these houses, the City requires that replacement materials match or be compatible with the original. A cedar-clad character house getting new siding must use cedar or a compatible material that the City approves.
Fibre cement siding with a wood-grain texture has been accepted on character retention houses in some cases. Ask the City's planning department what is acceptable for your specific house before choosing a product.
Three-coat stucco applied over metal lath and a rain screen is a durable cladding on a Vancouver home when it is detailed correctly. Stucco failures in British Columbia through the 1990s and 2000s were largely failures of the wall assembly behind the stucco, particularly missing or inadequate rain screens and poor window flashing.
Modern stucco over a compliant rain screen, with correct flashing at every penetration and opening, performs well in this climate. Stucco is a high-labour product and costs more to install than fibre cement or engineered wood. Hairline cracks that develop over time must be sealed to prevent water entry.
Vinyl siding is not recommended on new construction in Vancouver's climate by most builders and designers, and the City of Vancouver does not accept it on character retention houses. Vinyl cannot be repainted in a different colour and becomes brittle in cold weather.
The choice of cladding material matters less than the quality of the flashing behind it. A correctly detailed fibre cement installation with poor window flashing will fail. A wood-sided house with correctly installed window and roof intersection flashings will perform well for decades.
The key flashing points on a Vancouver home:
- Windows and doors: a sill pan flashing that directs water out through the rain screen, not into the stud cavity.
- Roof-to-wall intersections: step flashing at every rafter, with counter-flashing.
- Deck and balcony connections: a leading cause of moisture damage on Vancouver homes.
- Penetrations for pipes, vents and electrical: sealed with the correct flashing product and lapped correctly.
These details must be on the permit drawings and confirmed during the framing and rough-in stages.
We discuss cladding choices with every client at the design stage, before the permit is submitted. The choice depends on the design intent, the neighbourhood's character, the City's requirements for the zone, and the owner's maintenance preference over the life of the building.
For the rain screen assembly, we work with the designer to confirm the strapping depth, the drainage at the bottom, and the flashing details at every opening. These details go on the drawings. We confirm them with our supervisor on site at the wrap and strapping stages.
The colour of the cladding is a design choice, but in some parts of Vancouver it is also subject to review. For character retention zones, the City has colour guidelines for houses that are being renovated. For new homes on infill lots, some design guidelines require that the cladding colour and finish be compatible with the neighbourhood character.
Pre-painted fibre cement and engineered wood come in a range of factory colours. Factory colour is consistent, because the paint is applied in controlled conditions. Site-painted cladding matches the colour you choose, but the quality depends on the conditions on the day of painting and the skill of the painter.
For a new custom home, choosing a cladding colour early in the design process lets the designer coordinate the cladding with the window frames, trim, roofing and doors as a whole, rather than making each decision separately later.
Three mistakes appear on Vancouver cladding projects regularly.
Missing rain screen on a repair. When existing cladding is replaced on an older home, the contractor sometimes installs the new cladding directly over the existing building wrap without adding strapping. This is not compliant in Vancouver's climate zone and defeats the purpose of replacing the cladding. Any cladding replacement on a wall that did not previously have a rain screen should include strapping as part of the work.
End cuts not sealed. Fibre cement and engineered wood both require their cut ends to be sealed with the manufacturer's specified end-cut sealant. A cut end that is left exposed allows moisture to wick into the product, which eventually causes swelling and paint failure. This step is often skipped when installers are working quickly.
Flashing installed after the cladding. Window and door flashings must go in before the cladding, not after. A common mistake is to install the cladding first and then try to cut in the flashing around the window. The correct sequence is: frame the opening, install the sill pan flashing, install the window, lap the building wrap over the head of the window, then install the cladding. Reversing this sequence creates a water path into the wall.
Tell us about your project today. Book a one-hour project consultation.
Related on this site: Custom home construction in Vancouver · Keeping a character house in Vancouver · Building through Vancouver's wet season